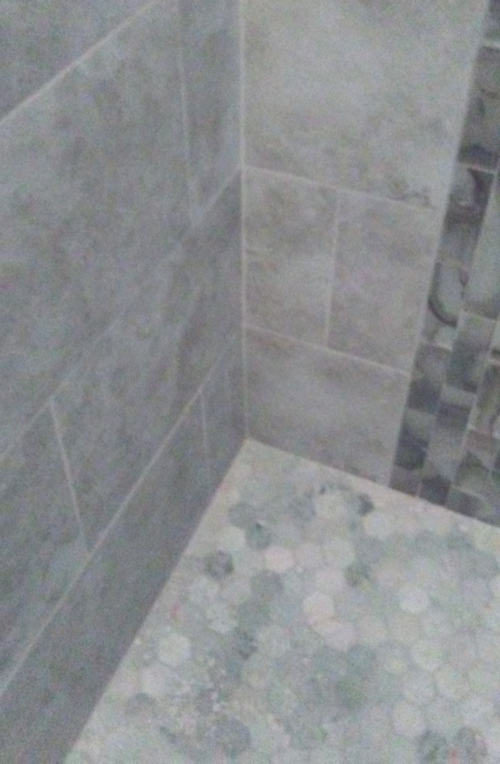
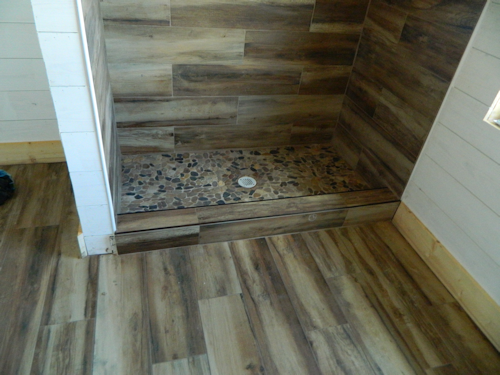
Mr. and Ms. Cox hired Jimmy and me to Paint the Interior of the house, place up Baseboard and Crown Moulding, and Remodel the Showers and the Bathrooms. This picture shows the edge of one of the Showers we did, and the Paint, of course.
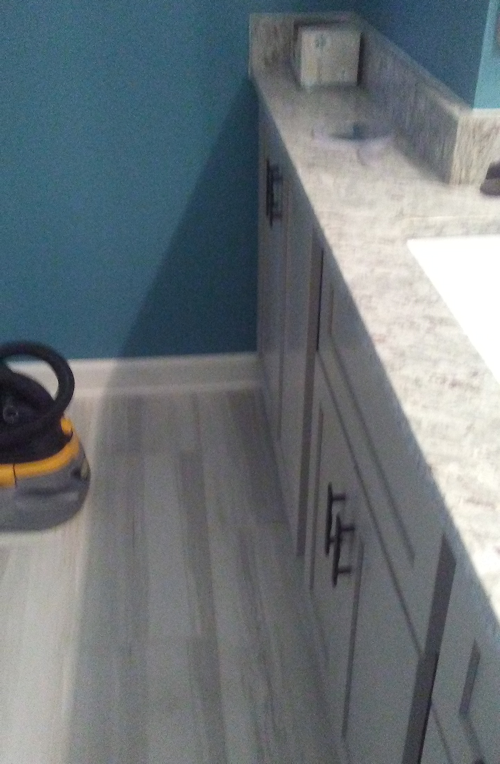
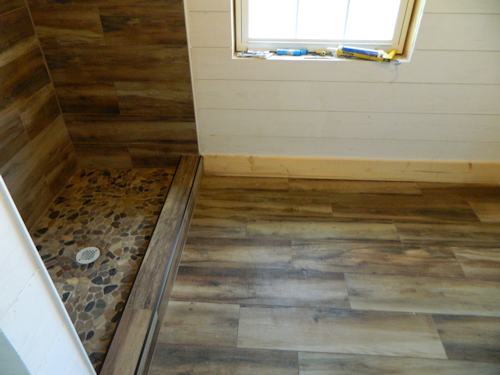
More of another bathroom at the Cox Household. Our Work includes the Floor, Walls, Cabintery, and Countertop.
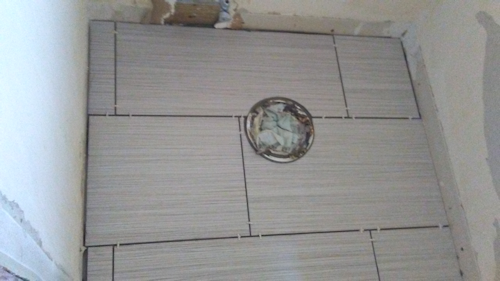
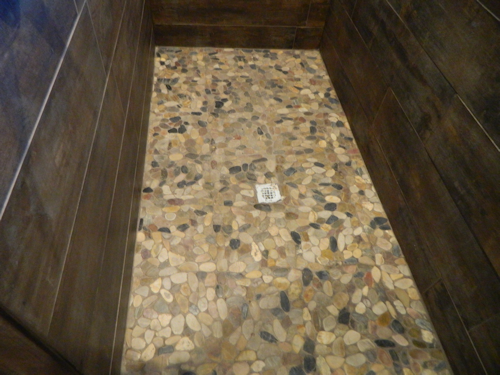
Shown is a Closeup of the Hole/Drain for the Toilet at the Cox Home. (no grout has been set yet) Note how precisely I have cut the tile to circle around the Drain.
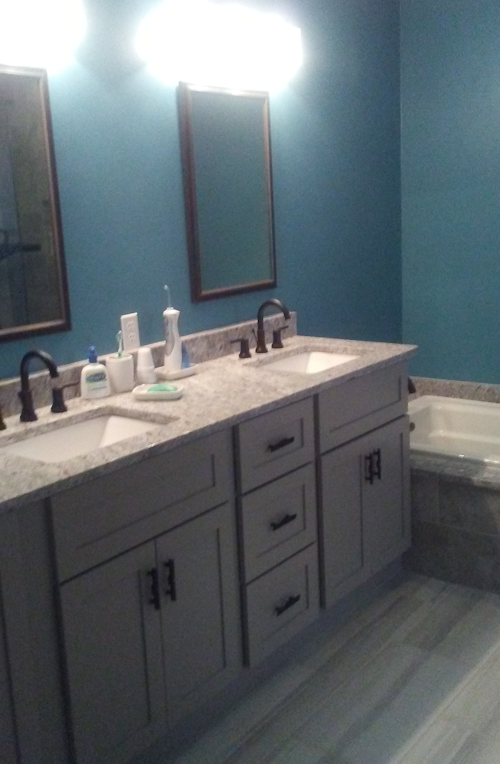
Another angle of the Bathroom showing the Tub, Cabinetry, Flooring Plank Tile "Wood" Flooring, and Painted Walls.
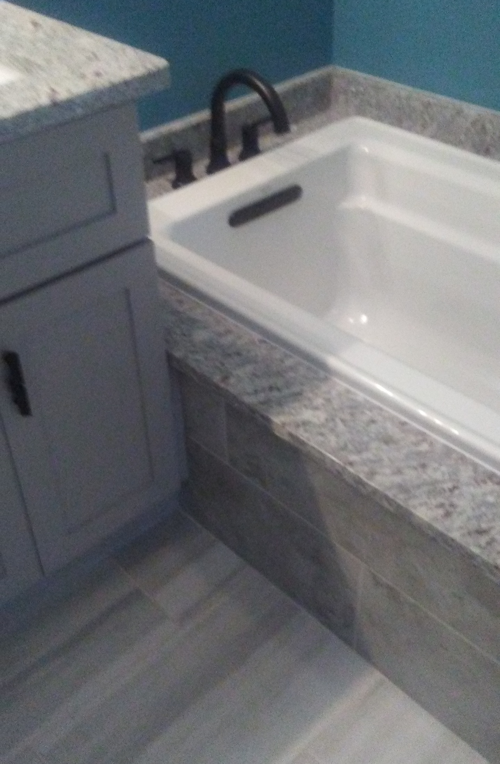
Bath Tub and Floor.
The Cox family had decided they wanted several different Textures in this Shower, including Hexagonal small Floor Tile, Ceramic Tile, and Marble.
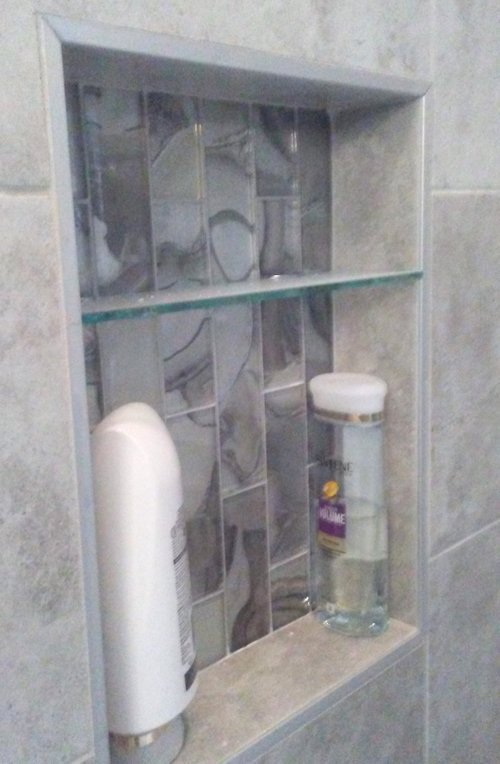
Custom Niche we cut out and Tiled for Mr. and Ms. Cox. Don't forget to ask us to cut out the Wall and Install one of them for you :)
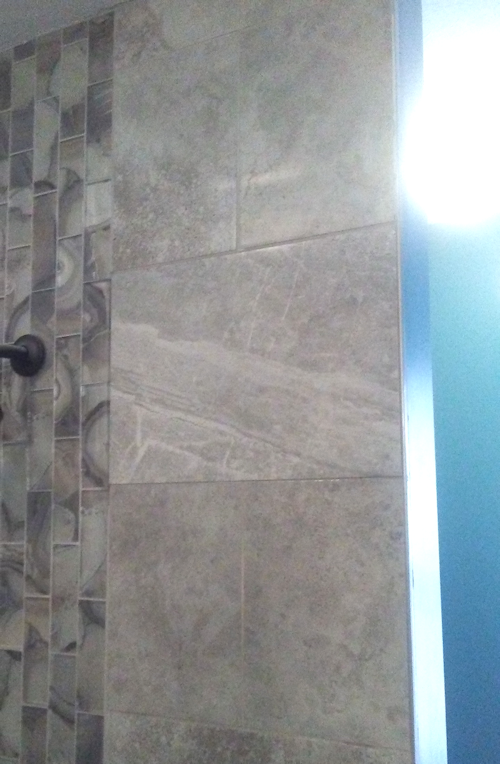
Showing the Shower Tile, Marble Inlay, and Painting outside the Shower.
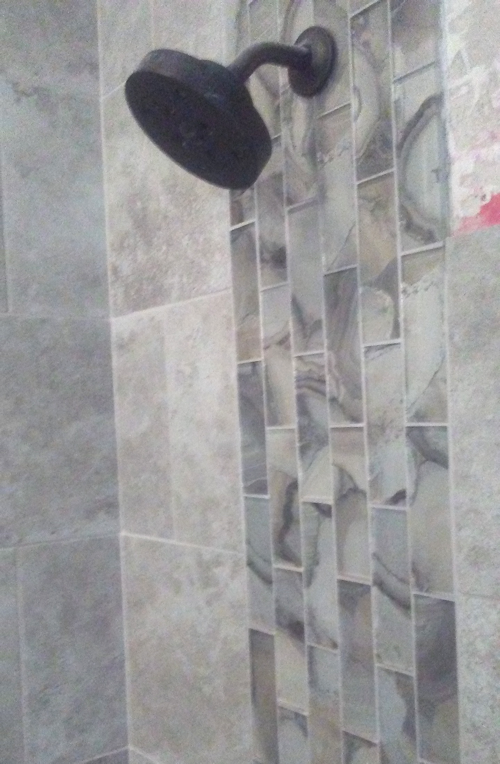
The Shower Head installed.
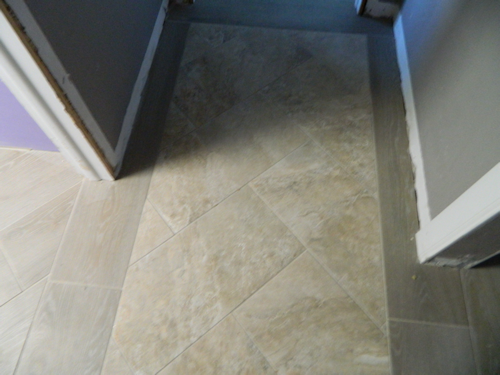
In another Home, We were asked to do a Diagonal Layment of the Tile. Baseboard must be removed to lay Tile. After the Tile is installed and the Grout is dry, We install the same Basebaord (if it can be reused) or New, depending upon what the Client wants.
This is Plank Faux "Wood" Ceramic Tile, laid at a Diagonal in this Shower. The Teal Tile is Glass Tile. Glass Tile does not get Grout.
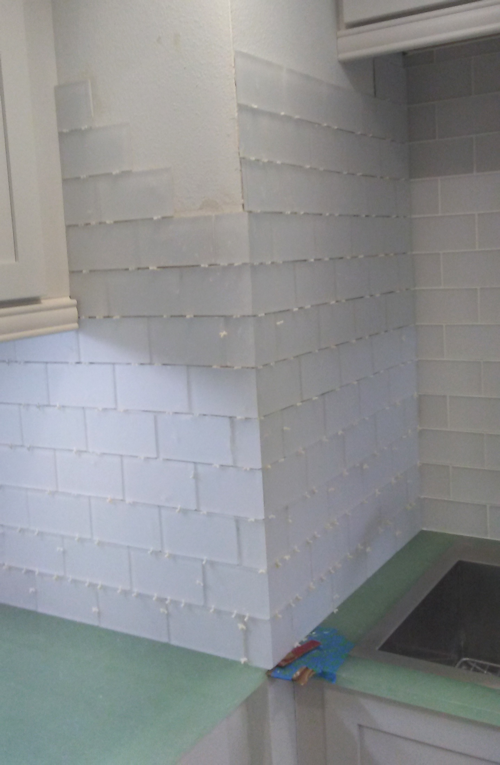
Installing the White Glass Tile Backsplash in Kitchen, Marco Island, Fl. The Green Countertops are Real Alabaster, which is Translucent, meaning some light gets through. That will be important a few pictures later.
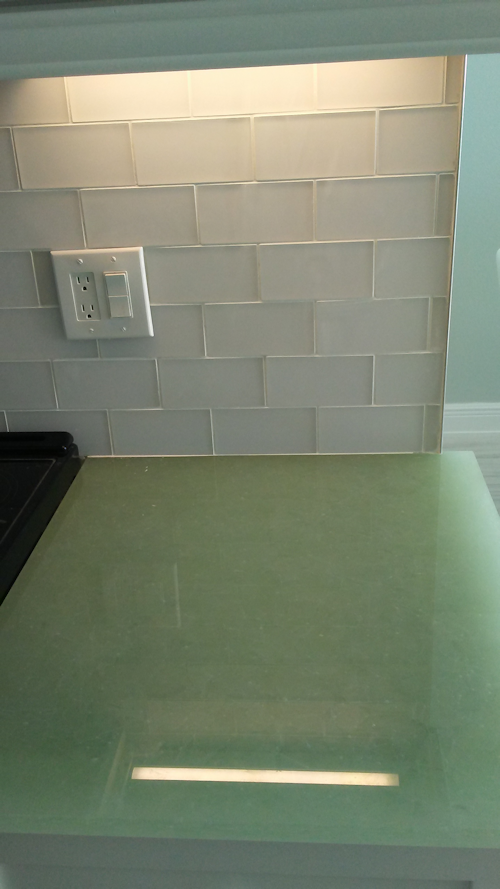
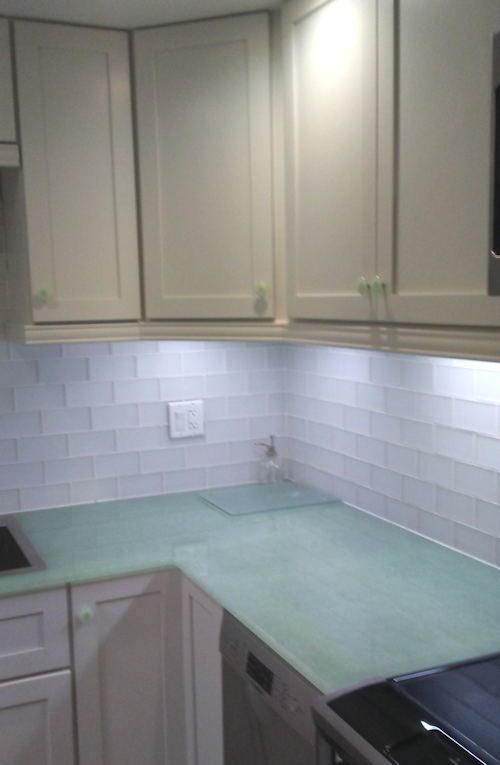
The White Glass Tile Backsplash and one of the Green Alabaster Countertops.
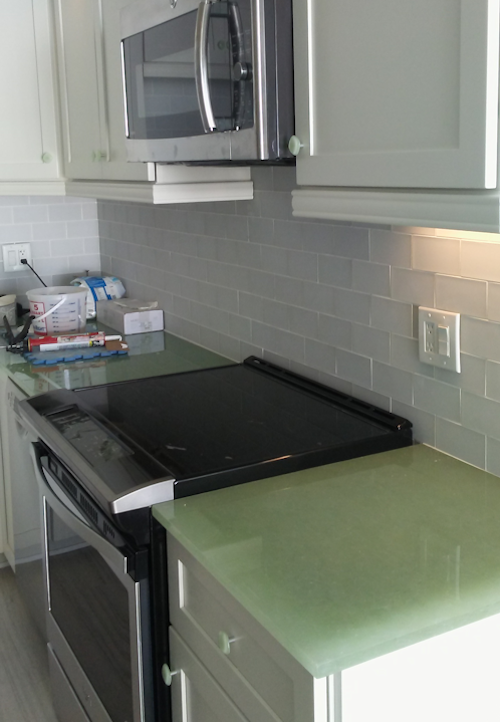
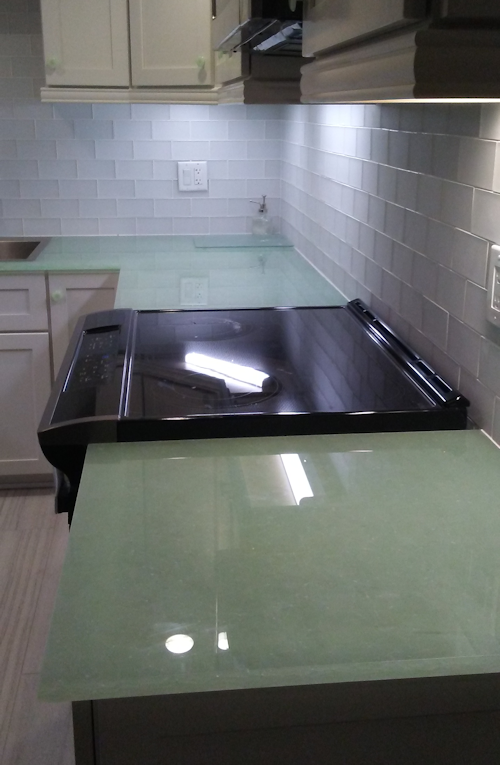
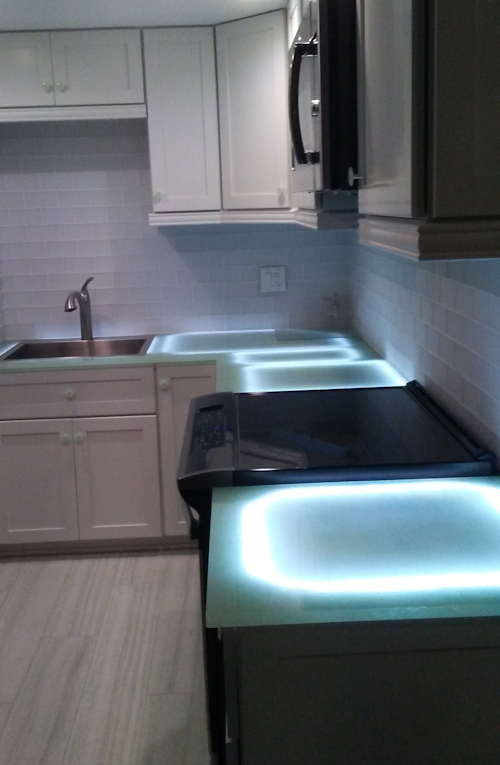
New Stove Installed next to the Green Alabaster Countertops. The Translucency really gives it a beautiful look.
The Lovely Green Alabaster Countertops are installed. Underneath we added some lighting
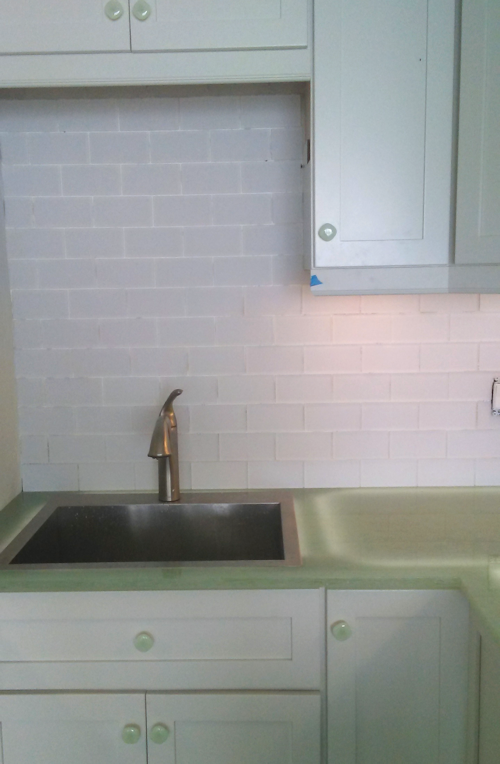
Brushed Stainless Steel Sink with Kohler Faucet./ Notice that the Pulls/Handles on the Cabinetry is also Alabaster. A really nice addittion.
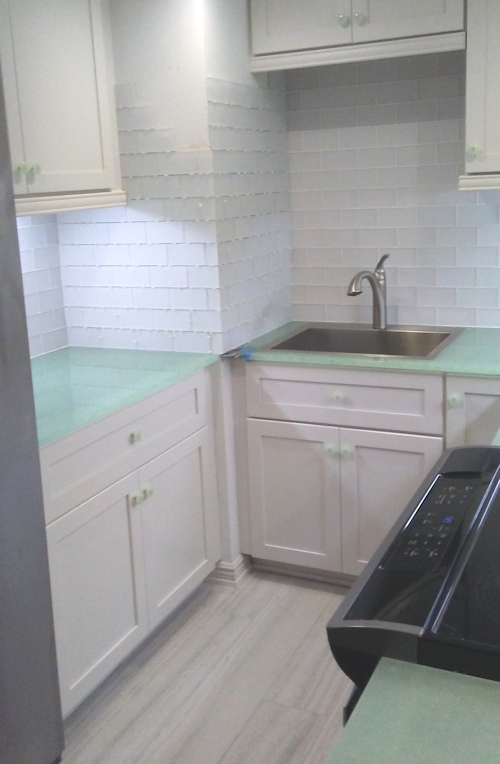
Although a cozy Kitchen size in this Marco Island, Fl. Condo, it gives way to much potential with the White Glass Backsplash and the Green Alabaster Countertops.
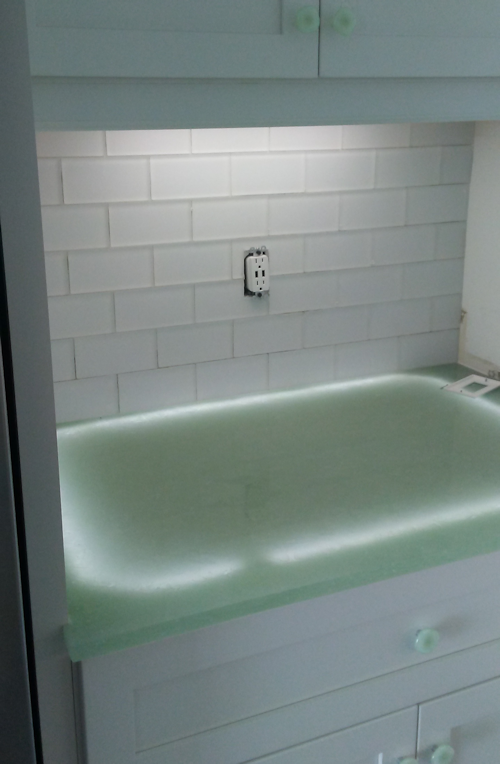
Another Look at the Green Alabaster Countertop lit up from beneath. It's a trick of the light that the Counter is curved, it's flat.
Because the Alabaster is Translucent, it lights up from underneath. This throws a very contemporary twist on this modern Kitchen.
A last Look at the Marco Island Alabaster and Glass Tile Kitchen.
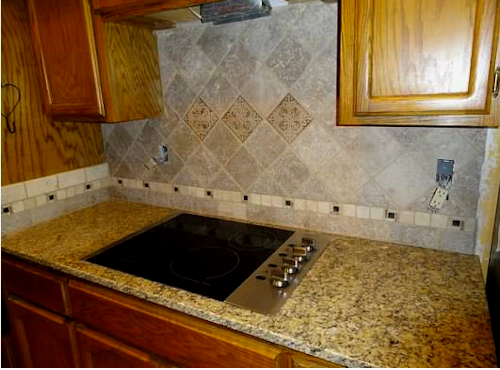
Kitchen Backsplash with Granite Countertop.
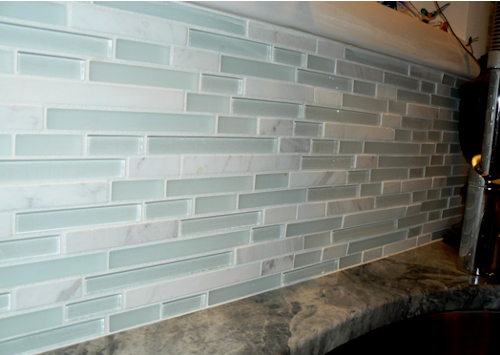
Beautiful Glass Tile Kitchen Backsplash.
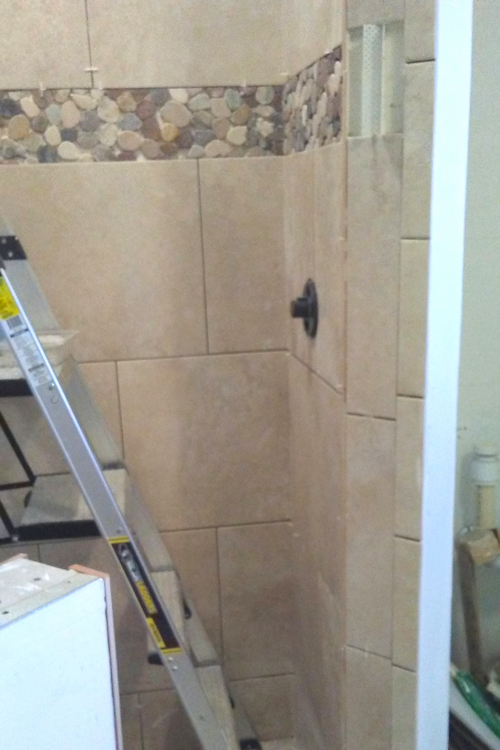
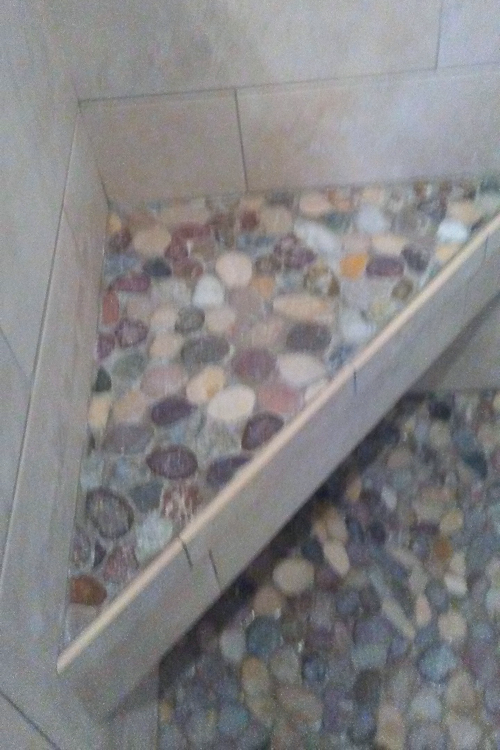
Porcelain Tile with Real Shaved River Stone Accent for One of Mr. and Ms. Rogus Shower, in Port Charlotte, Fl.
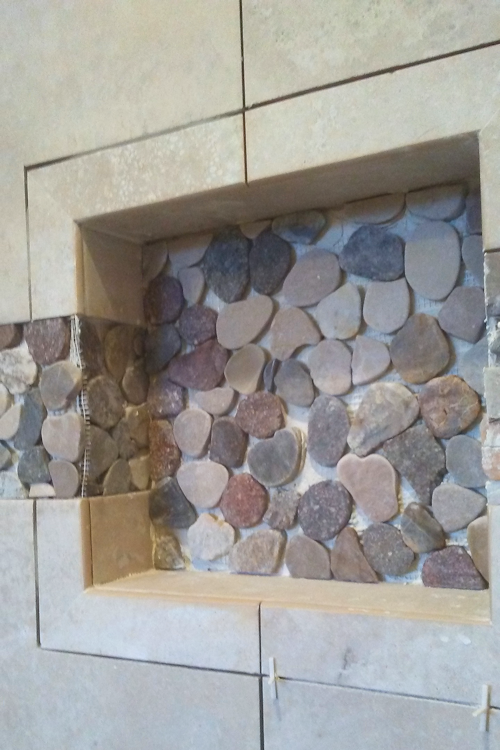
Closeup of the Soap and Bath Sponge Niche, not yet Grouted.
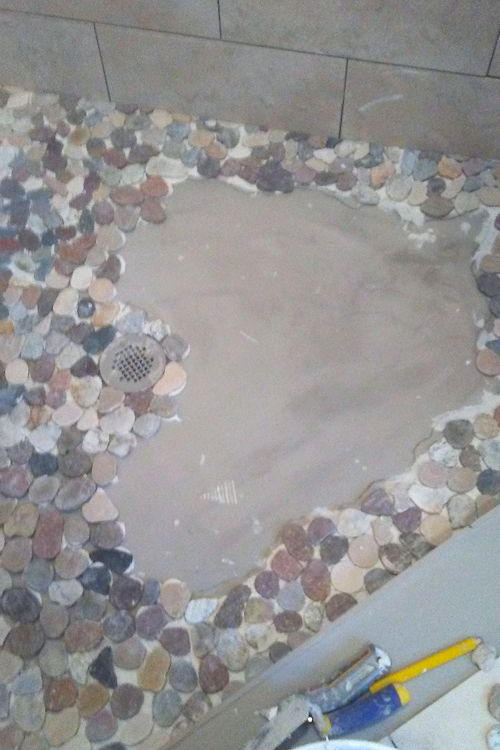
This is the beginning of laying the Riverstone Floor of the Shower for Mr. and Ms. Rogus.
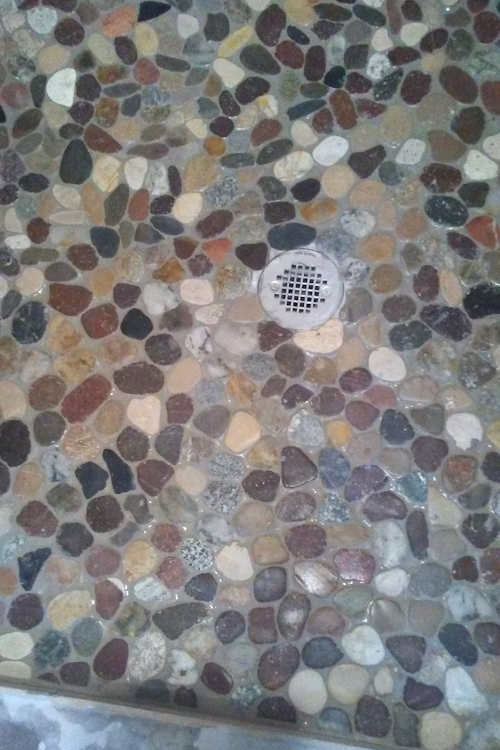
The Shower Floor completed with the Riverstone all laid. Notice the Drain.
Mr. and Ms. Rogus wanted a bench to sit ipon while relaxing in the Shower. So I provided One. It is not finished in this photo, I still had to remove the wooden board you see across the front.
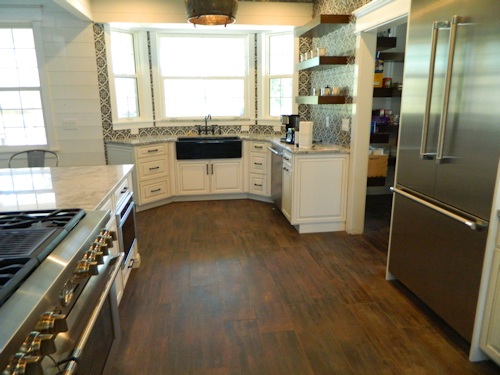
We laid the plank "wood" ceramic tile througout this 11,000. square foot home off of State Rd. 31 north in Charlotte county. This is the huge Country Kitchen.
Another view of Mr. Waynes' beautiful Kitchen and our tile work.
Yet another angle of Our Tile Work in Mr. Waynes' Kitchen.
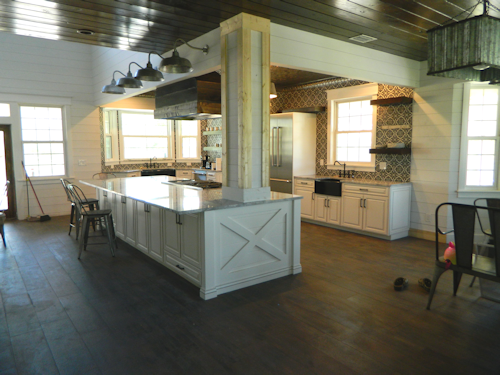
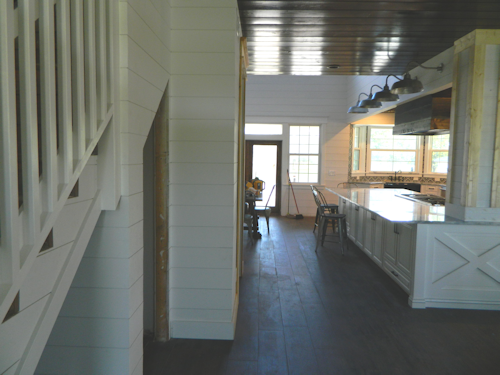
Part of the Great Room that leads away from the Stairs and towards the Kitchen in Mr. Waynes' Home.
River Rock Floor and Plank Ceramic Walls by Gino and Jimmy.
Jimmy and me did the Ceramic Plank "Wood" Walls in this Shower, the Flooring outside of the Shower, as well as the River Stone Shower Floor in this upstairs Shower at Mr. Waynes' House.
Another Angle of the Shower and our Ceramic Tile Work. The guys who install the Glass Shower doors hadn't arrived yet, so it's a good view of the tile. Jimmy and me also did the Wall Painting throughout the House, as well as the Crown Moulding and the Baseboard.
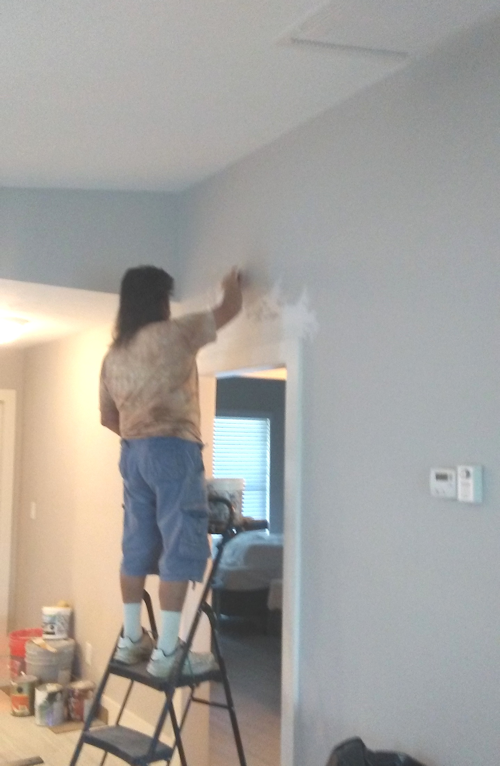
The Clients want us to hang a Barn Door for the Guest Area of the Home. When I went to check for studs to hang the Door on, there were none in the exact spaces that I need them. So I am cutting out the wall so I can insert strong wooden studs that will support the weight of this quite heavy Door.
Same Door Area at Tracie and Randy Lewis's Home on Saint James Island, Florida. I have inserted the needed studs and am applying plaster (and later paint) to complete the wall.
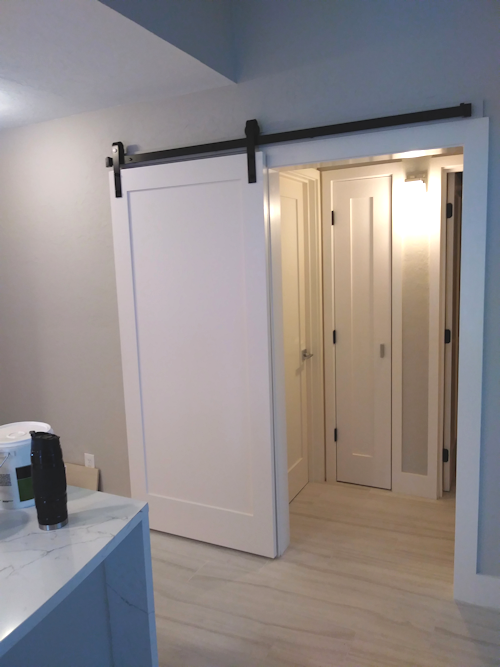
The Door itself had to be Custom Made by Me, as there is no Door made to the Size I needed for this Opening. Here it is with the added Hardware used to hang it, as well as the finished, sanded and painted Door. I also Custom-Made all of the Doors you see behind it too.
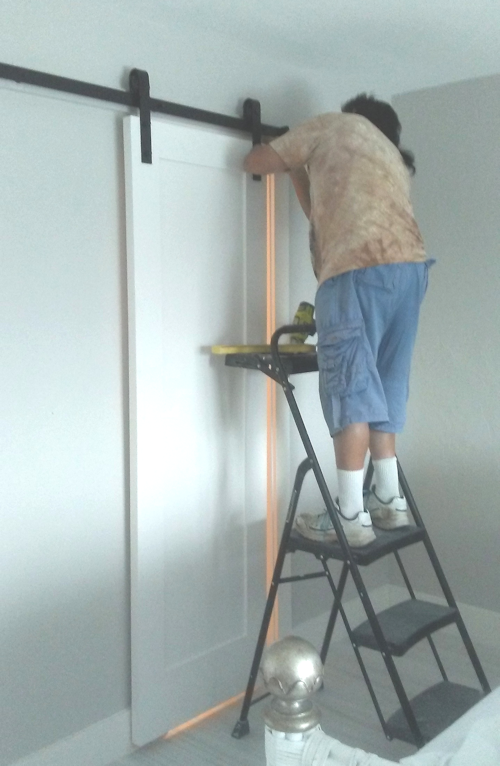
This is another Barn Door that Ms. Tracie wanted. This one leads from the Master Bedroom to the Master Bath. Here I am hanging the Custom Made Door to the Hardware Jimmy and I had earlier placed up.
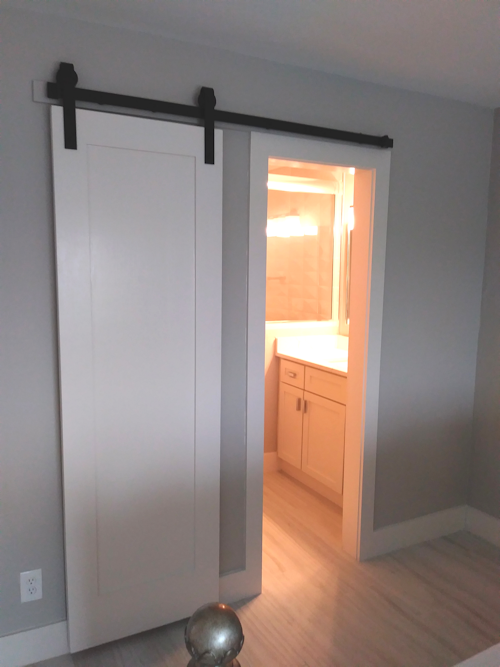
This is the Custom Made and Painted Barn Door opened.
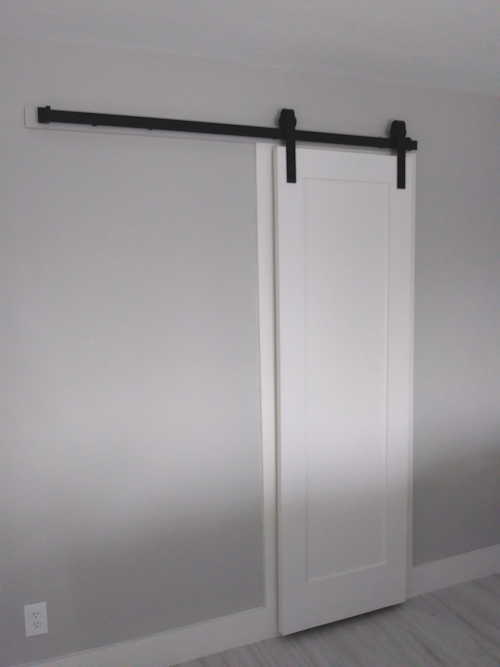
Here is the Master Bath Barn Door closed.
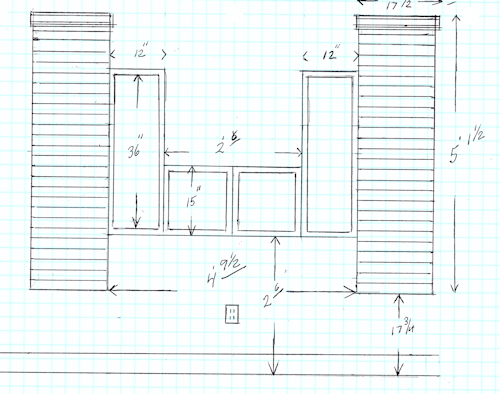
I also do Scale Renderings, or Plans. This was a request from Ms. Tracie, whose Condo has little space. She needed a Customized Coffee and Tea Cabinet to hold all of her teas and coffees, as well as saucers and cups.
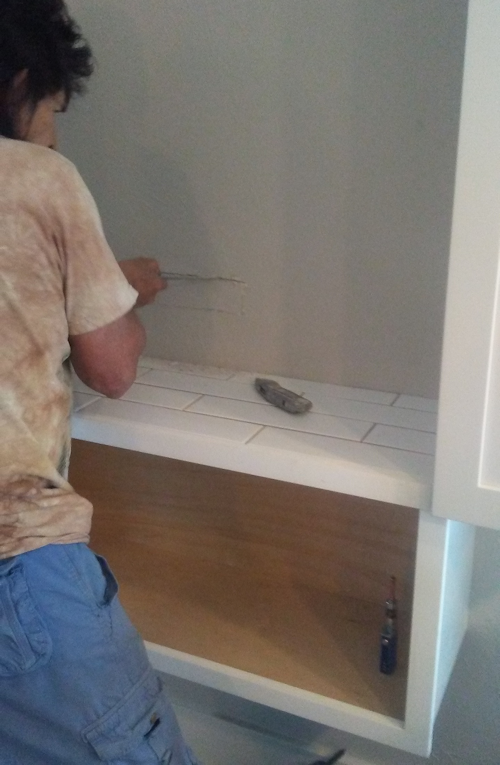
Jimmy and me have hung the Cabinetry, and laid the Tile on the Shelf that will hold the Coffee Maker.
We have added the Electrical Outlet needed for the Coffee Maker, and Stained the Interior of the Cabinet beneath. The Stain matches that of the Kitchen Cabinetry, as does the Subway Tile.
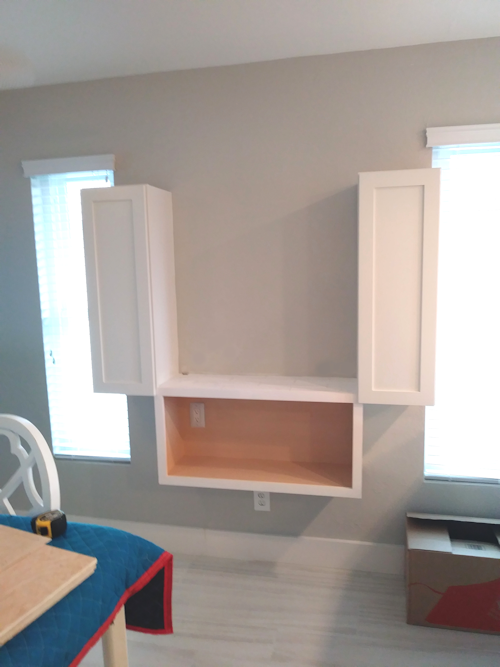
Completed Coffee Shelving. Doors and Hardware have been added to the bottom Cabinet. If you notice my Rendering shown earlier, the Client changed where the bottom Cabinet would sit in lieu of the taller cabinets on either side.